If you’re looking for a nutritious and delicious snack, this raw sprouted hummus recipe is a must-try!
Made with sprouted chickpeas, this creamy dip is packed with healthy benefits, offering an easily digestible source of plant-based protein, vitamins, and minerals—perfect when you’re on a raw vegan diet.
Not only is sprouted hummus incredibly good for you, but it’s also surprisingly easy to prepare, requiring just a few simple steps. Served as a snack, spread, or party appetiser, this wholesome recipe is perfect for anyone seeking a satisfying and healthy option.
This recipe is very similar to traditional hummus recipes—with the exception that we sprout the chickpeas and not cook them!
Contents
In this recipe post, I’ll guide you through the entire process of making this raw hummus, from growing your own sprouts to preparing this raw chickpea hummus recipe.
Why sprout?
Sprouting legumes has many health benefits such as:
- enhanced nutrient absorption
- improved digestibility
- increased protein quality
- enzymatic activity
- antioxidant boost
Sprouting legumes reduces the amounts of certain anti-nutrients (like phytic acid) that can block the absorption of essential nutrients like vitamins B and C, iron, and zinc.
The sprouting process also breaks down complex starches, making chickpeas easier to digest and reducing the likelihood of bloating or discomfort. Sprouted chickpeas are also rich in live enzymes, which support digestion and overall gut health.

Chickpeas in their sprouted form enhance antioxidant levels, helping to fight oxidative stress and support immune function.
And last, but not least, sprouting chickpeas has the benefit that you can enjoy delicious and nutritious homemade hummus while on a raw diet ;)!
Ingredients
- dried chickpeas (also called garbanzo beans)
- alternatively: chickpea sprouts (store-bought)
- raw tahini
- olive oil
- garlic cloves
- lemon juice
- cool water
- cumin
- sea salt
Toppings
- sesame seeds
- pine nuts
- chickpea sprouts
- smoked paprika
- fresh parsley
- olive oil
(see recipe card for quantities)
As you can see, this raw vegan hummus recipe is very similar to regular hummus—the only thing we change are the chickpeas, really! Yep, it’s that simple!
Chickpea Sprouts: If you like to make your own sprouts, see ‘Instructions’ for more details. It’s an easy process and quite beginner-friendly. For this version, you’ll need raw chickpeas/dried chickpeas.
If you prefer or want to save some time, you can absolutely buy chickpea sprouts in your local health food store or maybe even in your grocery shop.
Tahini: If you’re on a raw diet, make sure you buy raw tahini (sesame paste). Generally, tahini is naturally raw but some producers make it with toasted sesame seeds! Check the ingredients list!
Olive Oil: Virgin or extra virgin olive oil is best! It not only adds a yummy flavour to your raw sprouted hummus, but it also gives it this creamy texture.
Garlic: For me, garlic is a must! However, if you prefer, you can leave it out as well. Its sole purpose is to enhance the flavour ;).
Lemon Juice: By adding a squeeze of lemon juice, we obviously add some zest to our hummus. Additionally, lemons contain vitamin C which we need for better absorption of certain nutrients. I prefer freshly squeezed lemon juice from organic lemons.
Water: Water also helps achieve that creamy texture, and will make it easier for your high-speed blender or food processor to blend the ingredients.
Cumin: You can leave out this spice, however, I do recommend adding it because it is what gives this raw sprouted hummus another layer of flavour.
Sea Salt: Any salt will do here, sea salt, rock salt, Himalayan pink salt… It’s up to you which one you prefer.
Equipment
Affiliate Disclaimer: This article contains affiliate links. That means I may earn a small commission, if you purchase the linked product, at no extra cost for you.
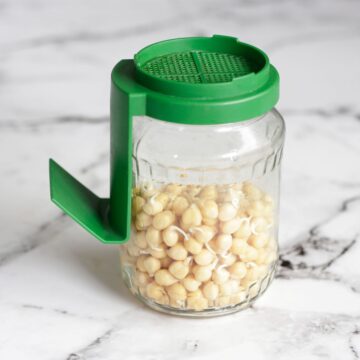
For the sprouting process, you’ll need a sprouting jar or make your own with a mason jar, a muslin or cheesecloth and a rubber band. We’ll dive further into the process later on (see ‘Instructions’).
To make this raw sprouted hummus recipe, you’ll also need either a high-speed blender or a food processor.
Instructions
Please note, before we dive into this whole process, that this raw vegan hummus will taste quite different to regular hummus. Sprouted chickpeas have a rather earthy or grassy taste and aren’t as nutty in flavour as cooked chickpeas.
If you don’t like the taste of sprouts, then you may not like this hummus. The other ingredients cover the flavour a bit but still…I just wanted to point this out.

How to sprout chickpeas
Step 1. First, place the dried chickpeas (or garbanzo beans) in a large bowl (like a deep soup or breakfast bowl) and cover with plenty of water. I usually make sure the water level rises about an inch and a half above the chickpeas.
Soak the raw chickpeas for a minimum of 12 hours—I do this overnight. The chickpeas will grow to over double their size, so really ensure the bowl is large enough to hold them.
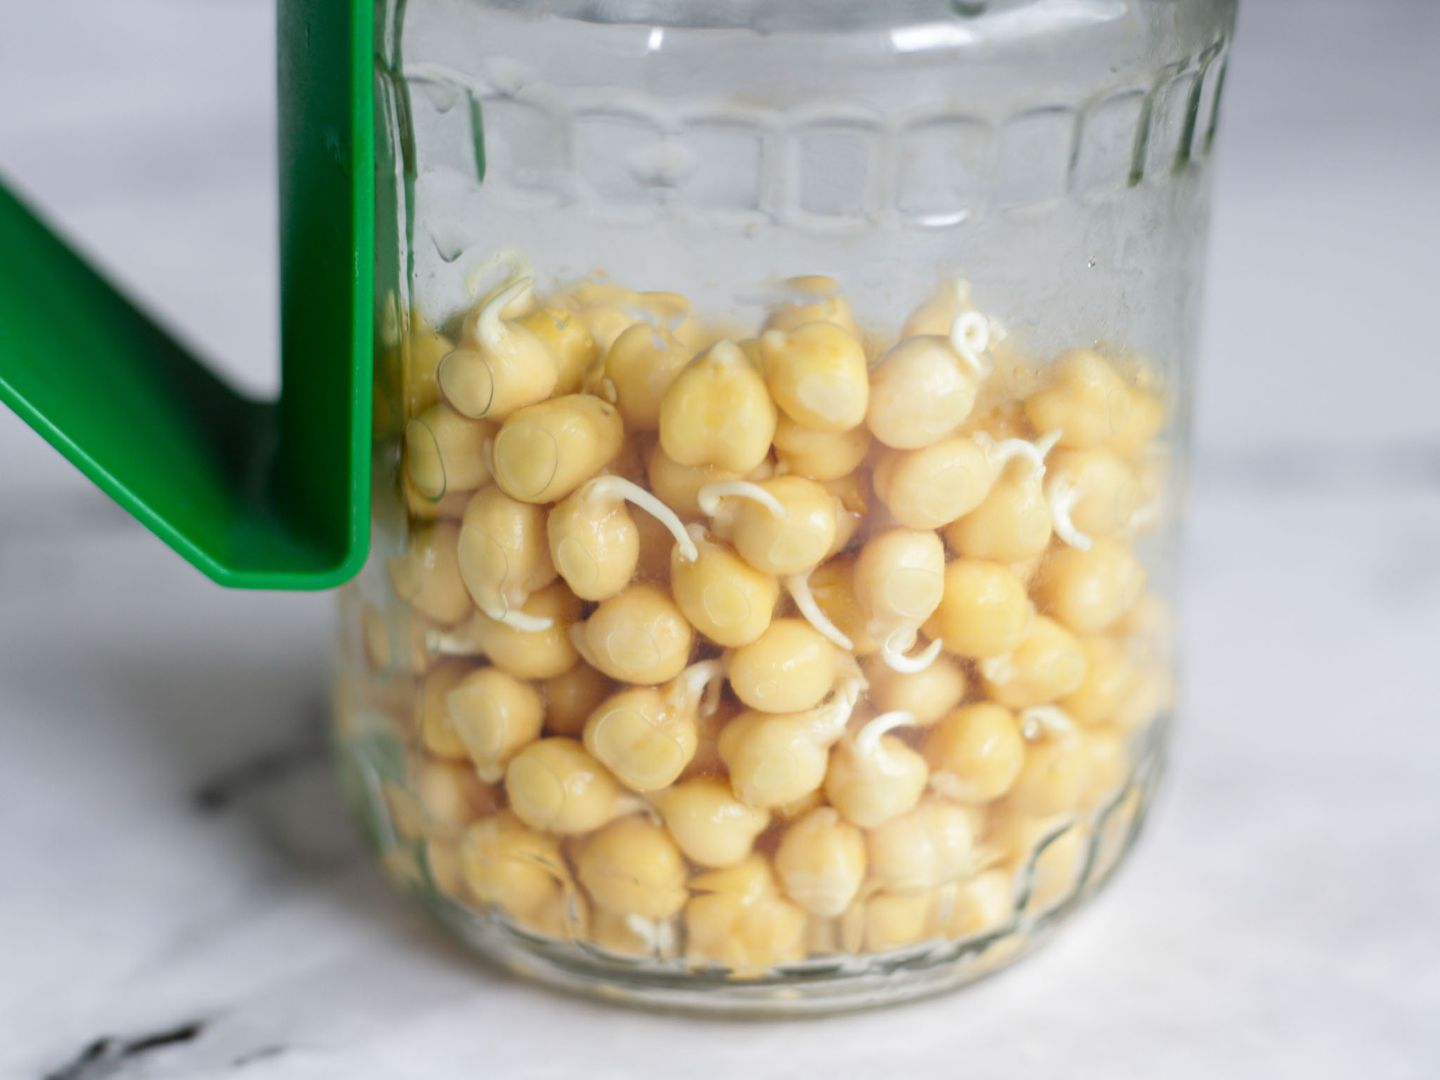
Step 2. Drain and rinse the soaked chickpeas through a sieve. Then, place them in your sprouting jar (affiliate link) or mason jar.
When using a mason jar, cover the opening with a muslin or cheesecloth (affiliate link) and wrap a rubber band around the mouth to hold the cloth in place. One layer of cloth will be plenty! We’ll need the air to circulate.
For better drainage and air circulation, it’s a good idea to keep the jar at an angle. You can place the jar on a dish rack (see what I mean here). You don’t have to do this if using a sprouting jar as those already come with a little stand.
Step 3. Now, you wait 2-3 days for the chickpeas to sprout. Keep the sprouting jar out of direct sunlight. It sometimes helps to drape a tea towel over the jar, making sure the opening stays free so the chickpeas get some air!
You will need to rinse and drain them with cool water 2 times a day (once in the morning, once in the evening). In hot weather, you’ll need to rinse them 3-4 times a day to keep them fresh.
Step 4. After a couple of days, you should be able to see the little white tails (sprouts) coming out of the chickpeas. The tails don’t have to be long, a few millimetres are enough! They’re ready to be eaten now!

How to make the hummus
Step 1. Place all the ingredients in a food processor or a high-speed blender and blend until you achieve a creamy texture. You may need to add a little more water or olive oil to attain the desired texture.
Step 2. Transfer your raw sprouted hummus into a glass or plastic container and keep it in the fridge.
Serving Suggestions
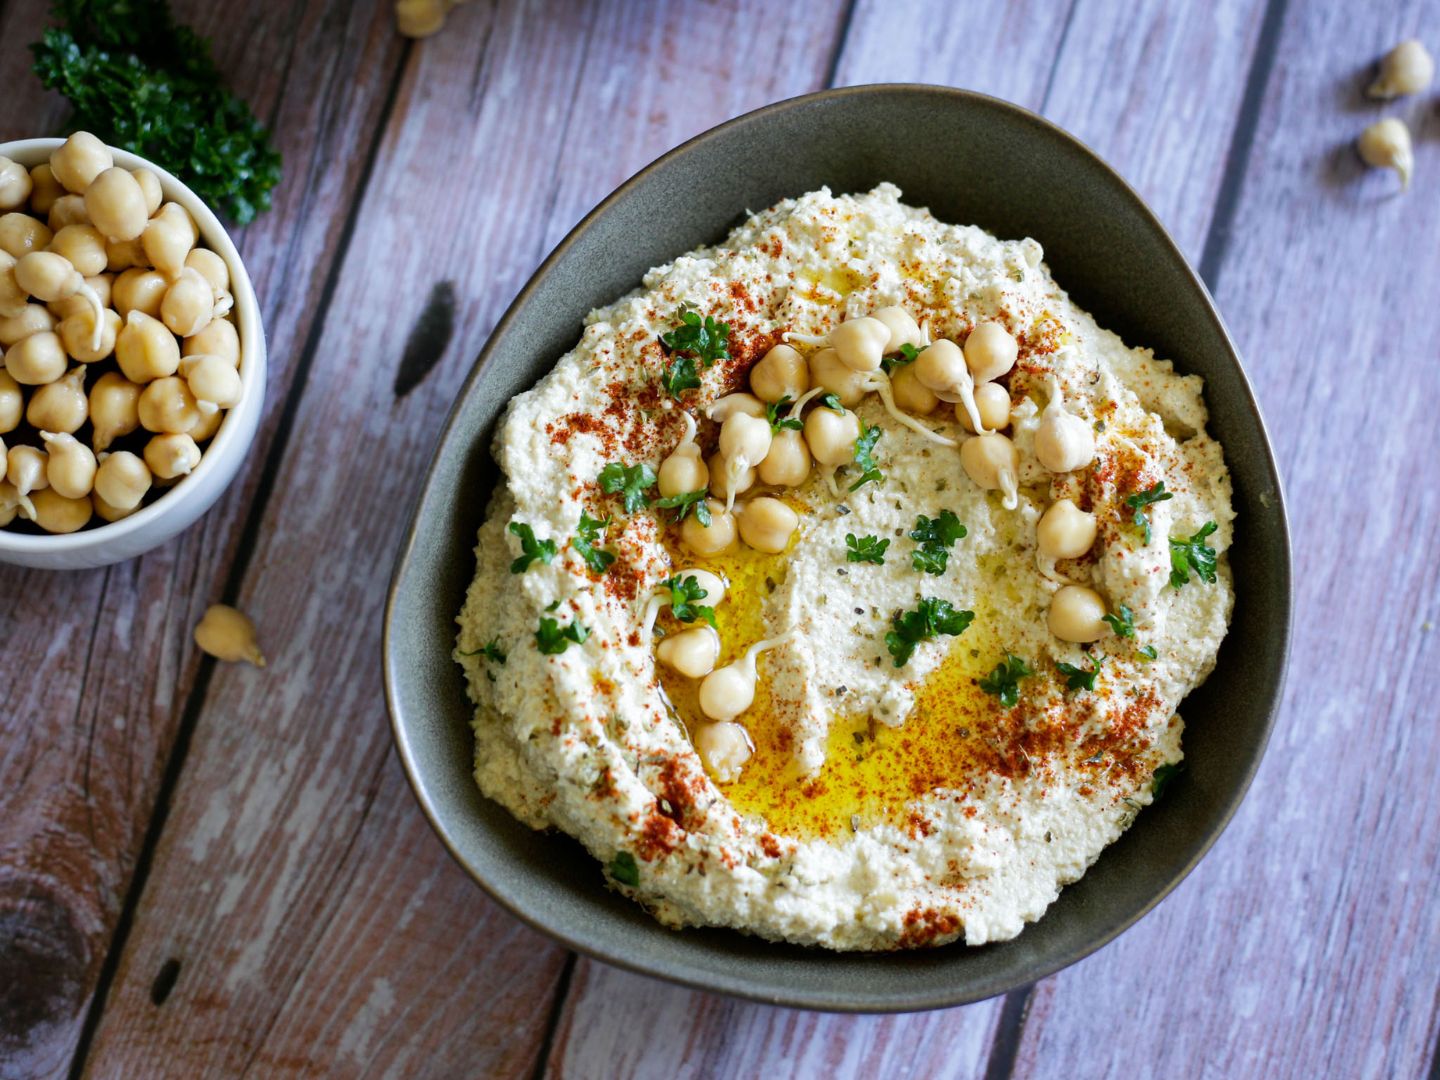
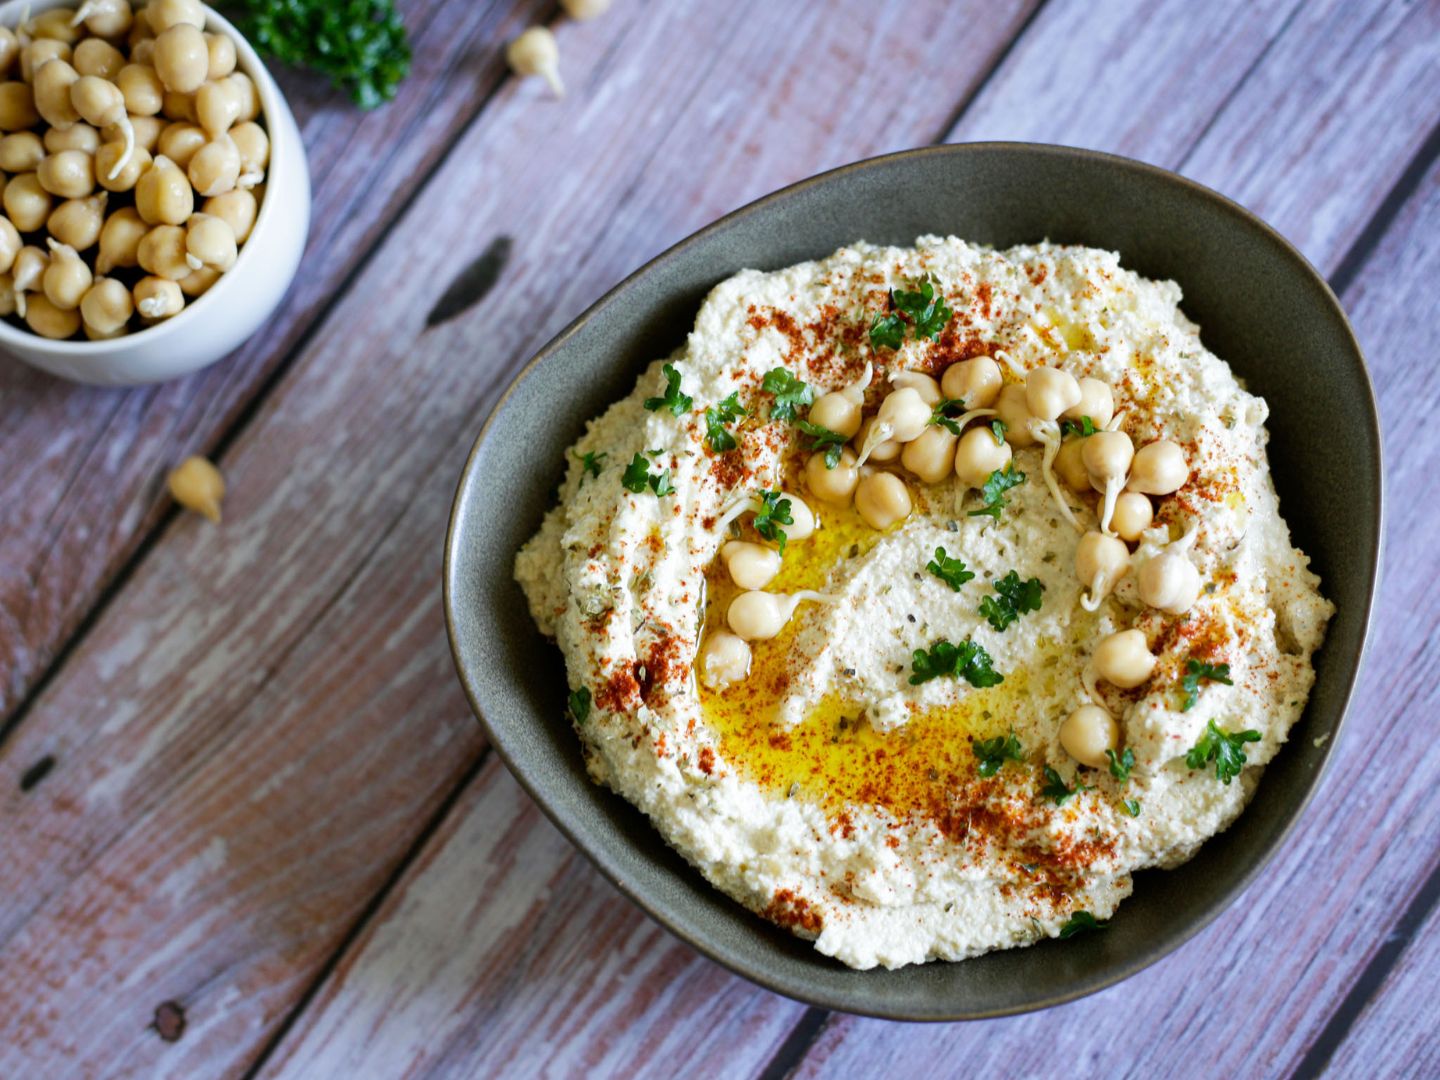
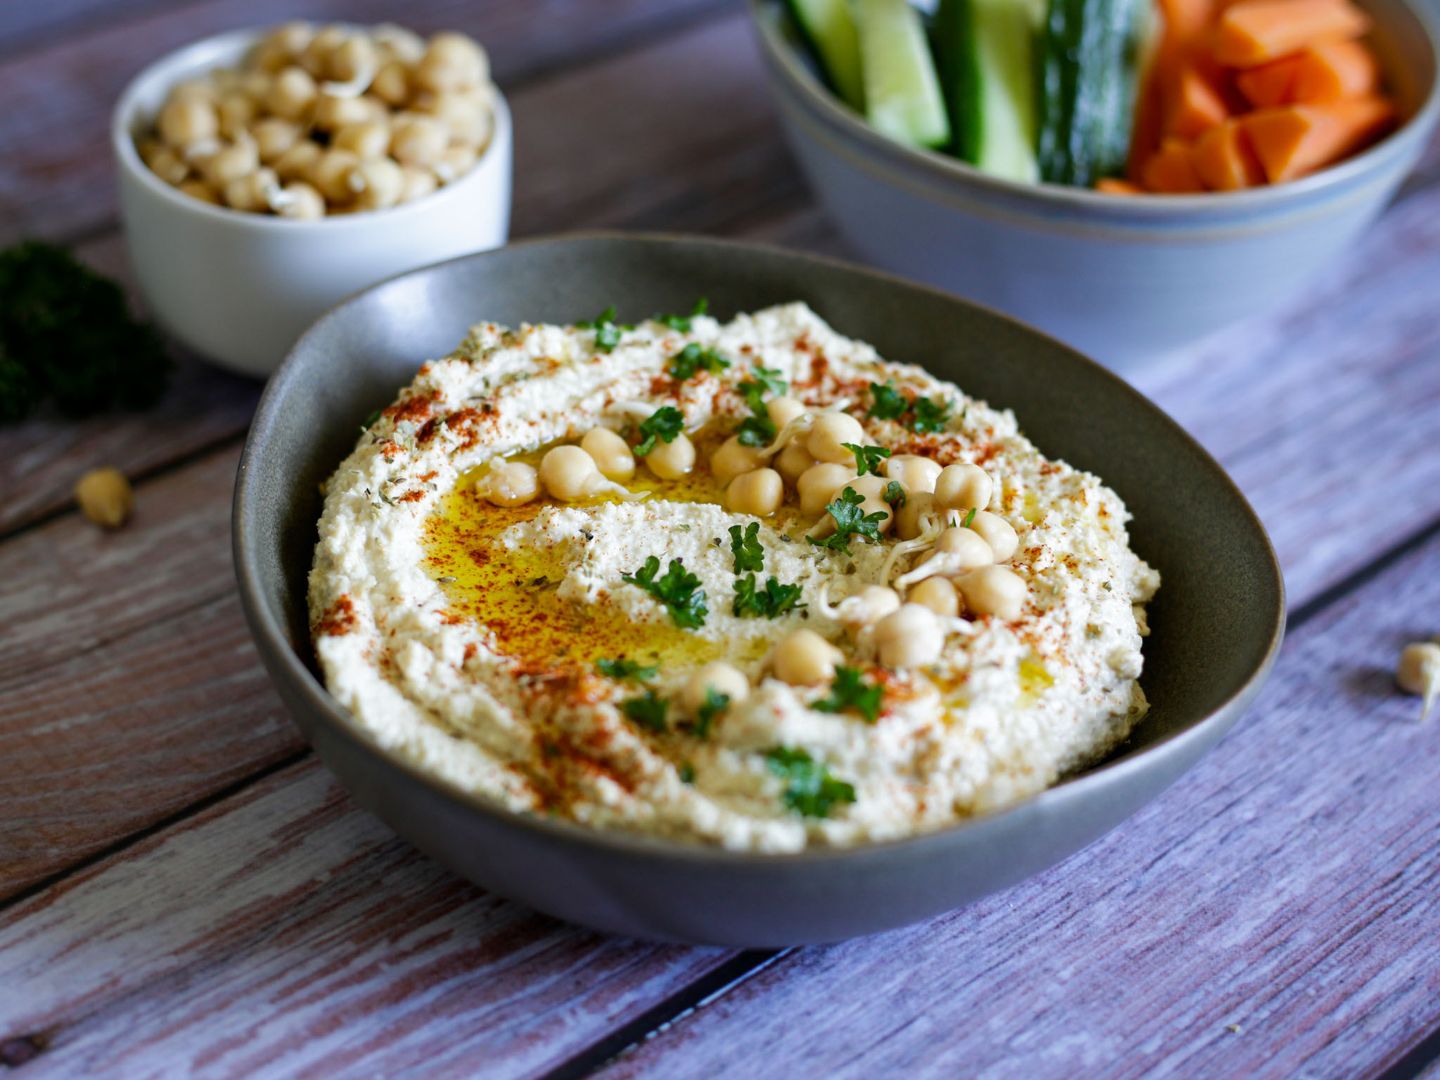
Transfer the homemade hummus into a flat bowl and spread evenly. Make grooves with the tip of a spoon and trace it along in a spiral or a circle (as you can see in the pictures).
Drizzle olive oil into the grooves and sprinkle with smoked paprika, fresh parsley, chickpea sprouts, sesame seeds and/or pine nuts.
Serve this delicious raw vegan hummus with veggie sticks (such as cucumber, celery, carrots and capsicum). Or if you’re not on a raw vegan diet, with pita bread or crackers (how about these easy almond flour crackers)!
Another suggestion is to use the hummus as spread in your wraps or on sandwiches!
Variations
This raw sprouted hummus can be made with other raw beans, like adzuki beans. I have not tried this yet, but it’s on my list! Once I have, I’ll update this post!
Storage
Keep this raw sprouted hummus in an airtight container in the fridge. There, it should stay fresh for 5 days to up to a week.
More vegan dips & other raw vegan recipes
- beetroot dip (not raw)
- fermented cashew cheese
- raw avocado lime cheesecake
- raw passionfruit cheesecake
- raw vegan chocolate
📖 Recipe
Equipment
- 1 sprouting jar
- 1 food processor/high-speed blender
Ingredients
- 100 g / ½ cup dried chickpeas alternatively: 250 g / 2 cups chickpea sprouts
- 3-4 tbsp water
- 4 tbsp olive oil
- 1 tbsp tahini
- 1-2 tbsp lemon juice
- 2 garlic cloves
- 1 tsp cumin
- ½ tsp salt
Instructions
How to sprout chickpeas
- Soak dried chickpeas in water for a minimum of 12 hours—I do this overnight. The chickpeas will grow to over double their size, so really ensure the bowl is large enough to hold them.
- Drain and rinse the soaked chickpeas through a sieve. Then, place them in your sprouting jar.
- Now, you wait 2-3 days for the chickpeas to sprout. Keep the sprouting jar out of direct sunlight. It sometimes helps to drape a tea towel over the jar, making sure the opening stays free so the chickpeas get some air!
- You will need to rinse and drain them with cool water 2 times a day (once in the morning, once in the evening). In hot weather, you’ll need to rinse them 3-4 times a day to keep them fresh.
- After a couple of days, you should be able to see the little white tails (sprouts) coming out of the chickpeas. The tails don’t have to be long, a few millimetres are enough! They’re ready to be eaten now!
How to make the hummus
- Place all the ingredients in a food processor or a high-speed blender and blend until you achieve a creamy texture. You may need to add a little more water or olive oil to attain the desired texture.
- Transfer your raw sprouted hummus into an airtight container and keep it in the fridge.
- Or transfer the hummus into a flat bowl and spread evenly. Make grooves with the tip of a spoon. Drizzle olive oil into the grooves, and sprinkle with smoked paprika, fresh parsley and sesame seeds.


