This is for all the chocoholics out there! This homemade dark chocolate is insanely easy to make, only needs 3 ingredients and is free of any nasties (like soy lecithin) and processed sugar.
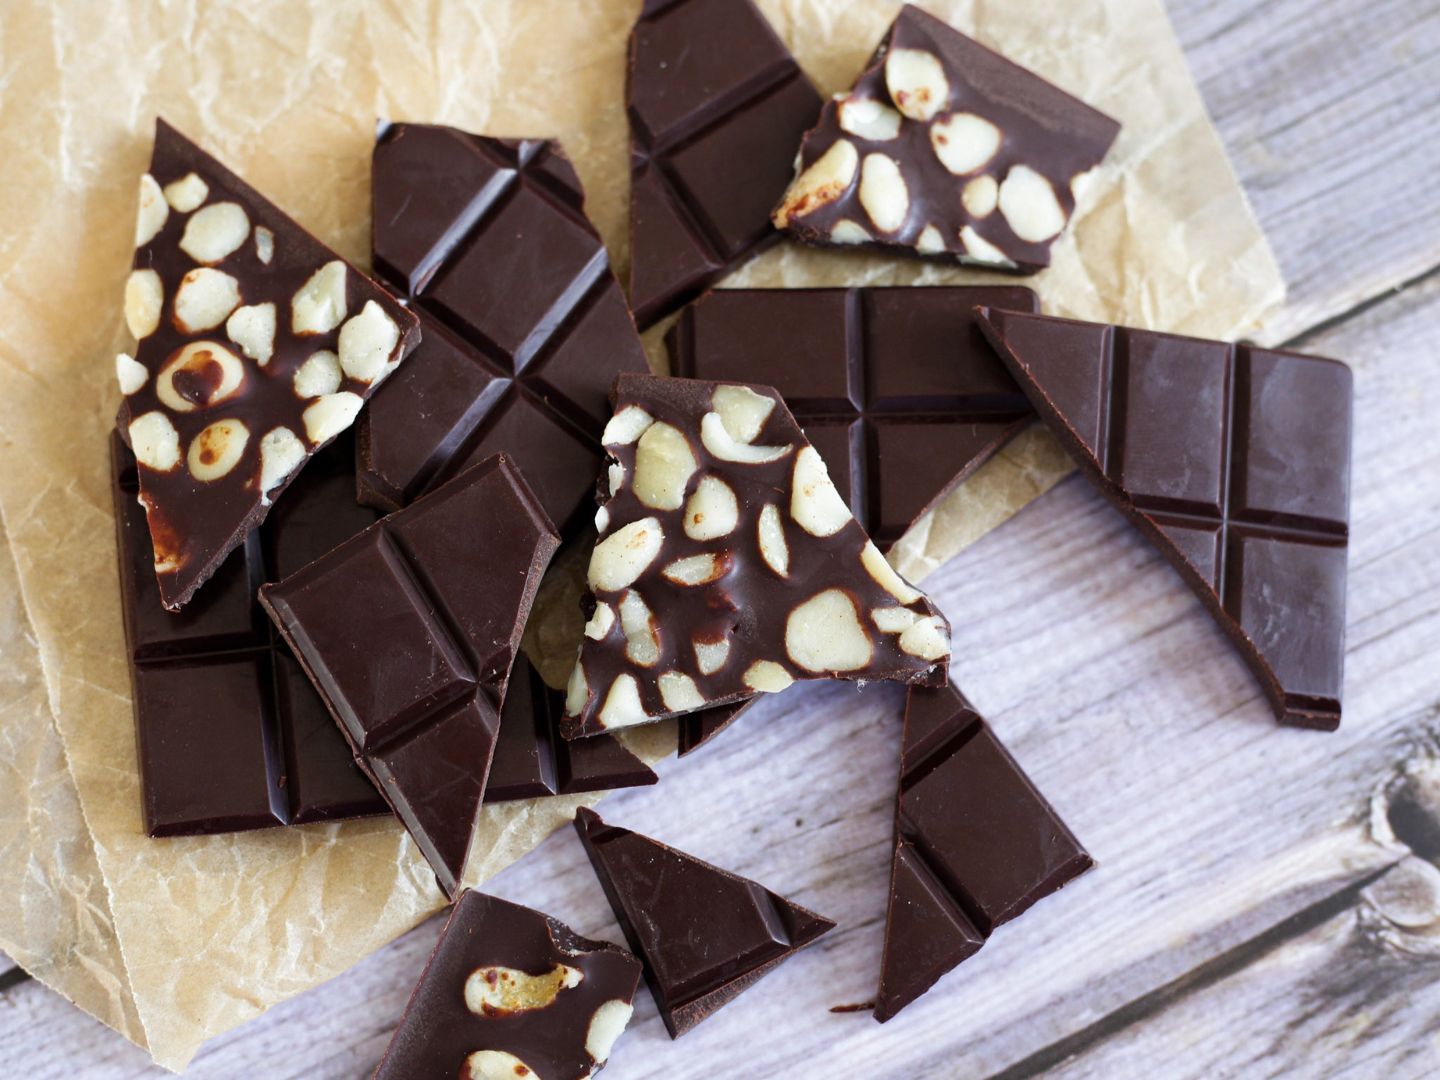
Enjoy it on its own, or use it in all those recipes that require dark chocolate, like these vegan avocado brownies for example or chocolate chip bikkies (simply cut it into chunks) or chocolate tart or chocolate pudding or… Well, you name it!
Contents
Ingredients for your homemade dark chocolate
Affiliate Disclaimer: This article contains affiliate links. That means I may earn a small commission, if you purchase the linked product, at no extra cost for you.
- cacao butter
- cacao powder
- maple syrup
- some vanilla extract (optional)
- pinch of sea salt (optional)
(Check recipe card for quantities)
Quality matters! The taste of your chocolate will depend on the cacao (or cocoa) you'll be using. You might have to try different brands to see which ones work best for you.
Substitutions
Cacao butter vs. coconut oil
I absolutely recommend using cacao butter instead of coconut oil. Not only does cacao butter add the genuine chocolate flavour, but it also gives your homemade chocolate the right texture.
Coconut oil liquefies around room temperature whereas cacao butter melts at around 34-38°C (93-101°F). That means a bar of chocolate made with coconut oil will melt much, much easier in your hands.
Sure enough, coconut oil is a lot cheaper than cacao butter. So, if you don’t want to spend too much money on your dark chocolate, you can absolutely use coconut oil. Just make sure you’re using a mild-tasting coconut oil unless you don’t mind the coconut flavour in your chocolate.
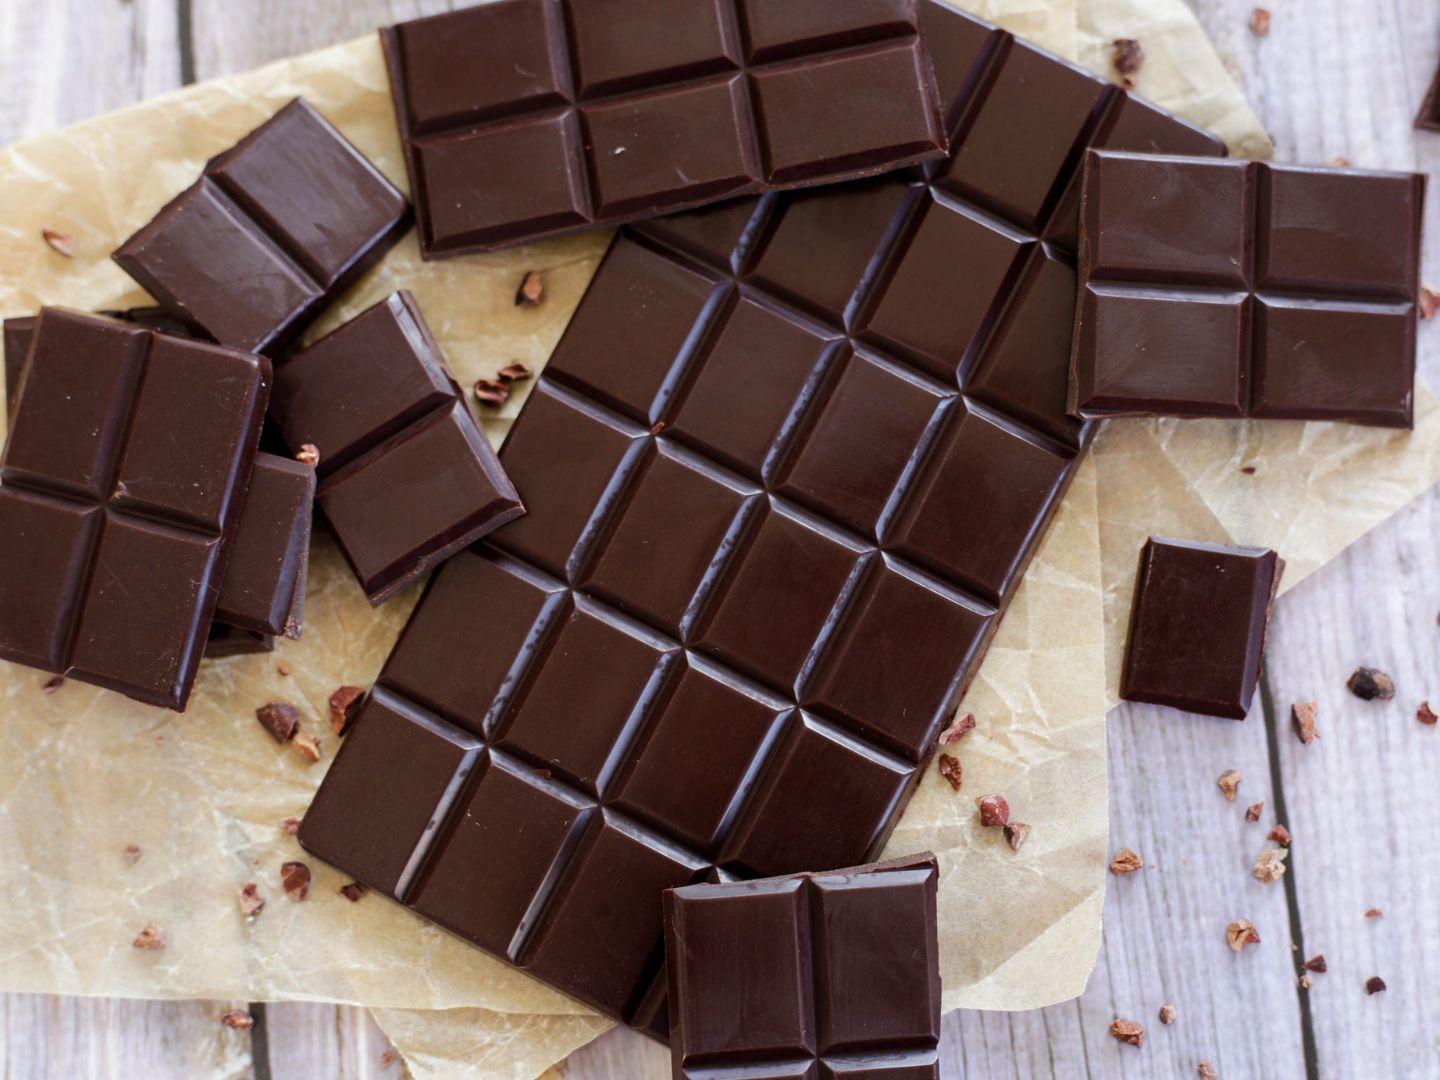
Cacao vs. cocoa
Yes, you can absolutely use cocoa instead of cacao. While cacao is raw, cocoa has been roasted and/or further processed. So, if you're on a raw diet or you're a bit more careful with processed food, choose cacao. That's it.
Sugar-free & other Sweeteners
You can easily make this recipe sugar-free by omitting maple syrup. It’ll be quite bitter though. You could also try stevia, monk fruit or xylitol as sweetener. Personally, I haven't tried it and I won't because I'm just not a big fan of them to be honest.
If maple syrup isn't your thing, you can absolutely use honey, agave syrup or brown rice syrup. You may need to adjust the quantity a little, so the chocolate is sweet enough for you.
How to make homemade dark chocolate from scratch?
Step One: You’ll need a small pot or saucepan and a heat-proof bowl (glass, ceramic or metal) that can sit on top of your pot/saucepan with plenty of room so it's not touching the saucepan's bottom or the water (see below). Or simply use a double-boiler.
Fill the pot, or saucepan, with water (about 2-3cm/1inch deep) and bring to a boil (we are going to use the steam of the boiling water to melt the chocolate later). You can already put the bowl on top of the pot/saucepan so it gets a chance to heat up simultaneously.
As soon as the water is boiling, turn the heat to medium-low. A simmer will be enough now.
Step two: Add cacao butter to the bowl and gently and slowly melt the cacao butter. Occasionally, stir the melting cacao butter.
Step Three: When most of the cacao butter is melted, add maple syrup, and vanilla and salt if using.
Step Four: Add the cacao powder when your butter has completely melted (or only tiny, tiny pieces are left). Stir your chocolate until well combined and smooth and no lumps are left.
Step Five: Pour your homemade chocolate into moulds and put it in the fridge to set, or leave it out in a cool room. I usually wait for a few hours up to the following day to remove the chocolate from the moulds.
The saucepan method
If you don’t want to deal with a double-boiler (or creating one), you can also melt the cacao butter in a saucepan over low heat. Just be careful you don’t burn it!
For this method, it’s okay to put all ingredients into the saucepan at once and slowly and gently melt your chocolate. However, I still prefer to first melt the cacao butter and then add the other ingredients. I feel like it combines just a little better.
Equipment

Now, you don't necessarily need any special equipment to make your chocolate from scratch. Beside a saucepan, a bowl and a spoon, you'll need some kind of mould to fill your homemade chocolate in.
Option 1: you could use small plastic containers and only fill them up to about a quarter of an inch / 5mm. Once the chocolate is cool, it comes off easily. Chinese take-away containers have worked very well for me in the past.
Option 2: create your own shapes! Just line a baking sheet with baking paper and drop a few spoonfuls of chocolate in a spot leaving enough space between each chocolate slab.
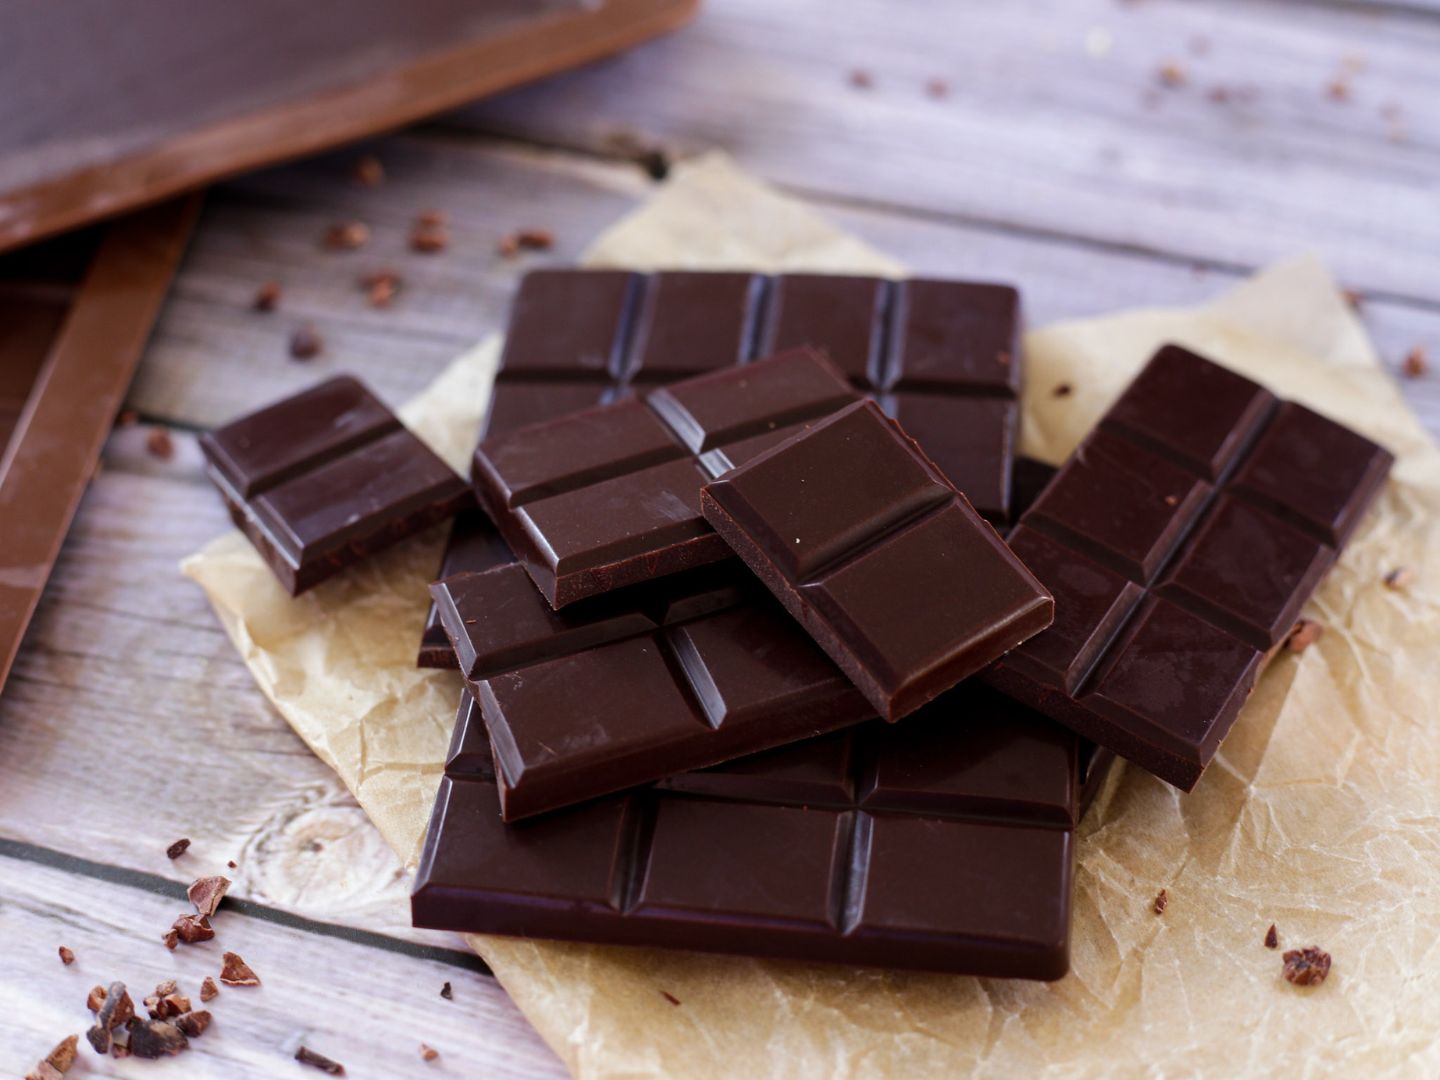
Option 3: if you want to make chocolate that easily breaks into equal pieces, you need the right mould. I've got a very simple plastic mould which I'm also travelling with and therefore it's already slightly bent. I also have several little moulds for pralines or creative chocolates because I love simply love them!
In my opinion, silicone moulds are the best choice (like these chocolate bar moulds, or like these ones for pralines! They are heat-resistant, toxin-free and always stay in shape (not like my cheap plastic ones). Also, they can't break which means you can, most likely, use them until you die ;)!
Storage
Ideally, you store your homemade dark chocolate in the fridge. If you live in a cold climate, you might be able to leave it out. I remember, my mum (she lives in Germany) kept it next to her on the couch table and it didn’t melt or go soft.
However, if you live in a hot climate, keep it in the fridge! I know what I’m talking about—I live in Australia...
I keep my chocolate bars in an airtight container or a resealable plastic bag. In the unlikely event that you don’t finish the chocolate within a couple of weeks, it usually keeps in the fridge for several months. A friend of mine kept hers for nearly a year because she forgot all about it (and yes, it was still fine!)
Variations
Here are my 3 favourite creations but, you know, there really is no limit to creativity!! For all of the variations, follow the basic recipe until step 4 (see instructions above) / step 3 (in recipe card).
1. Homemade Dark Chocolate with Cacao Nibs & Pink Pepper
Pour melted chocolate into a mould (or whatever you are using). Sprinkle cacao nibs and pink pepper on top, as much as you like! Set in the fridge or cold room, and you're done!
Cacao nibs add a nice crunch and pink pepper an exotic taste to your chocolate! Try it out! 🙂
2. Dark Chocolate with Orange & Chilli
2 options: use high-quality (such as doTERRA or Young Living) orange essential oil OR use orange zest (I recommend from organic oranges).
Step One. Once your chocolate is melted after step 3, add 3-6 drops of orange essential oil (I normally use 6, but probably best you try out 3 first and then slowly add more, one drop at a time!), OR add zest from 1-2 oranges. Mix well into your chocolate.
Step Two. Now, pour it into your mould. Sprinkle chilli powder or flakes on top. How much you're using is totally up to you and pretty much depends on the spiciness of your chilli powder or flakes.
Step Three. Put your chocolate in the fridge or a cold room to set, and you're done!
3. Homemade Dark Chocolate with Chopped Nuts

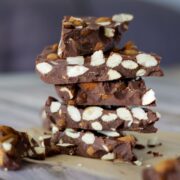
Make the chocolate until step 4. Meanwhile, chop some nuts such as almonds or macadamias (like the ones in the photos) and sprinkle them over your chocolate! Put your chocoliciousness in the fridge or cold room to set.
📖 Recipe
Equipment
- chocolate moulds
Ingredients
- 220g / 2 cups cacao butter I use cacao butter buttons
- 80-120g / 1⅓-2 cups raw cacao powder or cocoa, see notes
- 45-90ml 3-6 tbsp maple syrup or sweetener of choice
- 2 teaspoon vanilla extract optional
- pinch of salt optional
Instructions
- Melt the cacao butter in a double boiler or in a heat-proof metal, glass or ceramic bowl which you place over a saucepan filled with about 2-3cm/1inch of (boiling) water (make sure your bowl is not touching the water or the bottom of your saucepan). Stir the melting butter frequently as this speeds up the process.
- When most of the cacao butter is melted, add maple syrup, and vanilla and salt (if using). Remove the saucepan from the heat.
- Add the cacao powder when your butter has completely melted (or only tiny pieces are left). Stir chocolate until well combined and no lumps are left.
- Pour into moulds or create your own shape by making chocolate slabs. You could also use small containers and only fill them up to about a quarter of an inch / 5mm. Once the chocolate is cool, it comes off easily. Chinese take-away containers have worked very well for me in the past.
- Put in the fridge to set, or leave out in a cool room. You can store the chocolate in an airtight container or a resealable bag for several months in the fridge.
Notes
- How much cacao powder you use really depends on what you prefer. If you love dark chocolate, you should take 120g/2 cups. If you're not the biggest fan of bitterness, you'd rather want to use less.
- You can easily make this recipe sugar-free by omitting maple syrup. It’ll be quite bitter though. You may also try stevia, monk fruit or xylitol.
- Instead of maple syrup, you can also use honey or agave syrup.
- Technically, you could also swap cacao butter with coconut oil, however, I find that coconut oil melts much faster and leaves you with very messy fingers. Mind you, the chocolate made with cacao butter melts fairly fast, too (compared to store-bought chocolate). But, cacao butter also adds more flavour and texture to your chocolate, so if you can and your budget allows it, go for cacao butter :)!


Comments
No Comments