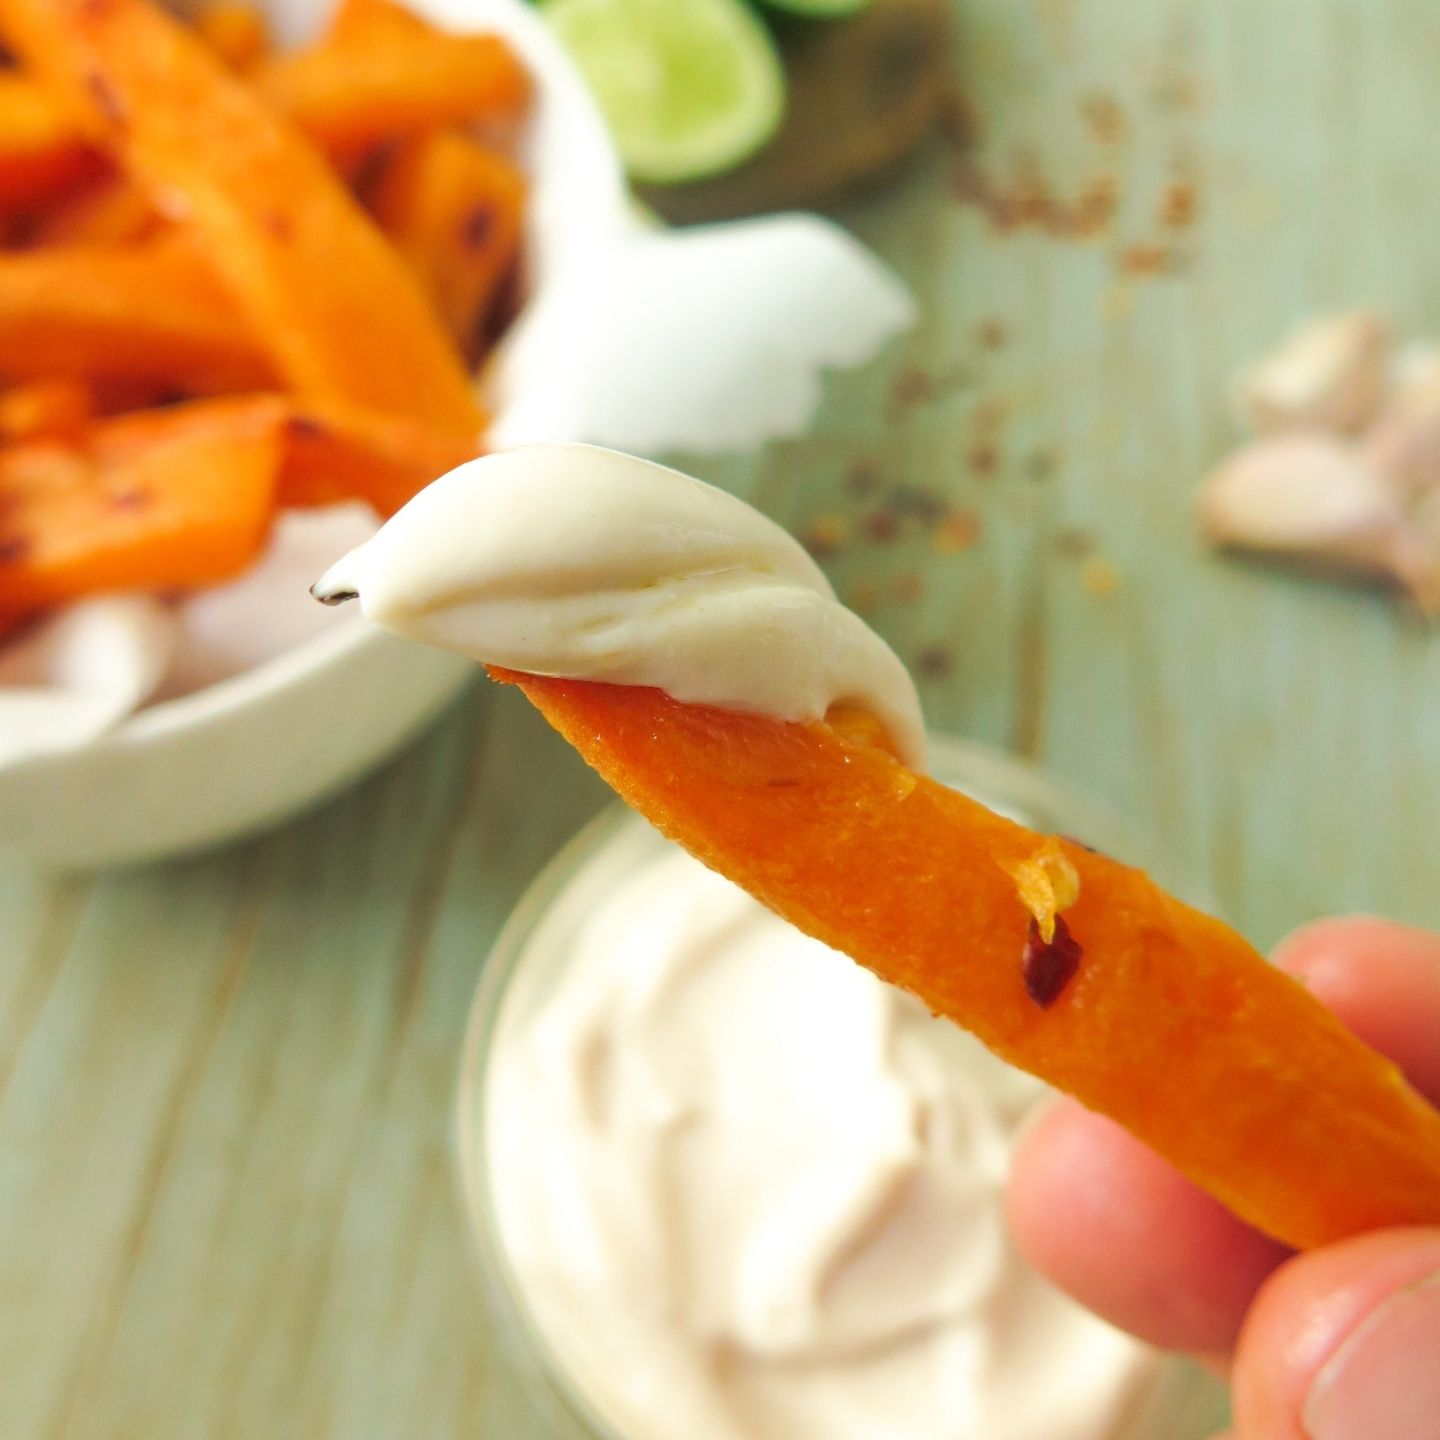
This Vegan Garlic Aioli is the BEST you’ll ever taste! It’s creamy, so smooth and, of course, very garlicky!

I’ve probably made this vegan aioli hundreds of times and it’s holding a very special place in my fridge (and my heart as well, of course, because I love it so much). It’s my all-time favourite dipping sauce for my homemade chips or I love it as a spread on bread or as a sauce on sandwiches!
Contents
This recipe is fairly easy because we don’t need many ingredients but as a heads-up, this vegan garlic aioli is definitely not fool-proof. Bear with me, though, I’ll give you plenty of tips so you won’t fail! So, let’s dive in!
Ingredients
- aquafaba (chickpea brine) or milk (plant-based)
- garlic cloves
- salt
- oil (olive, sunflower)
First things first. For making aioli (or also allioli), we actually just need garlic, olive oil and salt. This is what we use traditionally as the name already tells us (all = garlic, i = and, oli = oil).
But over the years, other versions evolved adding eggs and lemon juice making it more mayonnaise-like (that’s usually the one we know). In Mallorca, a Spanish island, they like to add milk.
So, as you can see, the traditional aioli is actually naturally vegan! However, the consistency isn’t as creamy and as soft as the mayo-version we know. In this vegan garlic aioli we, therefore, add aquafaba (or milk, see substitutions).
Aquafaba
Aquafaba is simply the brine in which chickpeas were cooked. If you haven’t heard of it and you’re on a plant-based diet, you’ll love it! Aquafaba replaces egg whites in many recipes (like meringue, marshmallows) and froths just as well.
Aquafaba gives this garlic aioli its smoothness, you could almost say fluffiness.
You can get aquafaba by simply catching the brine when you strain a tin of chickpeas or after you've cooked them yourself. Aquafaba freezes well too so you can use it whenever you need it.
Garlic
It depends a little on how much garlic you like. I usually use 3 cloves and find it’s enough. You can definitely use less than that, or more if you want to really go for it!
Don’t get a fright when you’ve freshly made your aioli and try it. The strong, maybe even spicy, garlic taste will ease off a bit after you put it in the fridge for a few hours.
Oil
Traditionally, we use olive oil but most conventional aiolis contain vegetable oils as they’re cheaper and milder than olive oil.
I love using half, half, olive oil and sunflower oil, or maybe a bit more olive oil. You need to experiment a bit yourself to get the flavour you like.
I just find that sunflower oil makes the aioli a bit smoother and it rather has a neutral flavour. Personally, I don’t like using just olive oil because I think it makes it quite bitter. However, you could use mild-tasting olive oil instead too.
A while back, I experimented with other oils like macadamia and avocado oil resulting in a very runny, thus failed, aioli. So, I reckon, stick with olive and sunflower oil as they work best.
Instructions
Okay, I’m gonna try to explain this process as well as I can to help you not to fail this vegan garlic aioli. Once you know how to make it, trust me, it’s easy peasy lemon squeezy!
Step 1: First, put aquafaba, very roughly chopped garlic and salt into a tall measuring jug (the one that usually comes with a stick/immersion/hand-held blender) or into your (small!) food processor where you can add liquids while it’s whizzing. Blend or whizz until frothy (this only takes a few seconds).
Step 2: Second, the (maybe) trickier part. In this step, we emulsify the oil(s) which means we slowly cream them. Slowly! That’s very important! And the reason why we can’t use a high-speed blender for this recipe!
Just think of how aioli is traditionally made. With a mortar and pestle! Thankfully, we can simply use our little machines for that now!
Alright, here we go: Set the stick blender or food processor to a low speed. Slowly add the oil or oils (if using both sunflower and olive oil) while blending it at the same time.
You constantly let the oil run into it, almost in a trickle. That’s how the aioli emulsifies properly.
I don’t use the measuring cup or anything for this. I simply pour the oil straight out of the bottle. It’s much easier to control the amount of oil coming out this way.
After about 120ml / ½ cup of oil your vegan garlic aioli should already start to get creamy. Having made this aioli so many times, I find that the oil gets thicker at different amounts every single time.
So, don’t worry if your aioli thickens earlier or a bit later. It might depend a little on the oil or room temperature (or whatever, can’t really say exactly what causes it).
Step 3: Stop adding more oil once you’ve achieved a thick and creamy, mayonnaise-like consistency. You should see the oil floating on top a bit longer than it did before. Just keep in mind, the aioli will thicken a bit more in the fridge.
Step 4: Transfer your vegan garlic aioli to a clean jar or container and put it in the fridge. You can use the aioli right away if you like, too, but it’ll be much nicer once it’s cooled down a bit more.

Troubleshooting
The problem is… if the aioli is too runny or thickened too quickly, there may not be a way to help it. You’ll most likely have to start all over again. This is just how it is, unfortunately.
But here are some ideas to avoid waste…
My aioli is still runny: this happened to me once when I used a combination of macadamia, olive and avocado oil. It would not thicken at all!
So, I’ve started a new batch with just sunflower oil and added my runny aioli once it got to the creamy state. The rest of the failed aioli, I used in my salads as dressing.
The reasons why your aioli is still runny could be that perhaps you used a different oil (other than recommended: sunflower and olive work best), that your blender or food processor is too fast so you don’t emulsify the oil properly or that you’ve poured too much oil at once (instead of letting it trickle in).
My aioli thickened too early: when I only use olive oil, this happens to me quite often. Olive oil simply emulsifies quicker than other oils (at least, that’s what I think).
But don’t worry if that happens. Your vegan aioli will simply taste a bit stronger, saltier than usual. You could use it as garlic butter instead.
Next time, maybe just add a bit of olive oil (2-3 tablespoons) when you froth the aquafaba. Then start with emulsifying.
Substitutions
Aquafaba: instead of aquafaba you can also use any plant-based milk that froths. Soy milk definitely works. However, I do not recommend eating any soy products in general as they aren’t actually that good for you (soy may interfere with your hormones).
Almond milk or a barista version of any other plant-based milk are great alternatives. You just need to add something that froths well, that’s it.
Mayonnaise-like, Vegan Garlic Aioli
To this recipe for vegan garlic aioli, you could add 1 teaspoon dijon mustard and 2 teaspoons apple cider vinegar or lemon juice for more flavour and for creating garlic mayonnaise. Add these ingredients in the same step in which you froth the aquafaba.
Equipment
I recommend using a hand-held, stick, immersion, or whatever-you-call-it blender and the plastic container/tall measuring jug it usually comes with. I think it’s the easiest way.
Otherwise, a small food processor would do the trick. Personally, I haven’t tried this recipe with a food processor. Though at the cafe I once worked, that’s what we used to make our aioli (with eggs). So I reckon, it works just as fine.
Storage
Keep your vegan garlic aioli in the fridge in a container or a jar. It keeps for quite a while, at least a month, if not longer.
I haven’t frozen it yet but I think it’s not a great idea as it may affect the texture. After all, we don’t use stabilisers or whatever.
📖 Recipe
Equipment
- Stick/immersion blender or food processor
Ingredients
- 60ml / ¼ cup Aquafaba chickpea brine
- 2-3 cloves of garlic
- ½ teaspoon salt
- 180ml / ¾ cup oil sunflower and/or olive
Instructions
- Add aquafaba, very roughly chopped garlic and salt to a tall measuring jug (thee one that usually comes with the blender) or a small food processor. Blend or whizz until frothy (this only takes a few seconds).
- Set the stick blender or food processor to a low speed. Slowly add the oil or oils (if using both sunflower and olive oil) while blending it at the same time. You constantly let the oil run into it, almost in a trickle to emulsify it properly. After about 125ml/½ cup of oil, your aioli should start to get creamy.
- Stop adding more oil once you’ve achieved a thick and creamy,mayonnaise-like consistency. You should see the oil floating on top a bit longer than it did before.
- Transfer your vegan garlic aioli to a clean jar or container and put it in the fridge. You can use the aioli right away if you like, too, but it’ll be much nicer once it’s cooled down because it’ll thicken in the fridge even more.
- Your vegan garlic aioli keeps in the fridge for about a month.
Notes
- Food processor or blender: I think an immersion blender works better because it’s only a small amount. If you want to use a food processor, use a small one. And a food processor where you are able to add liquids while it’s whizzing.
- Aquafaba: you can use any plant-based milk that froths well instead, like the barista versions.
- For pouring the oil: I simply pour it straight out of the bottle. It’s much easier to control the amount of oil coming out this way. So, yes, I also don’t really measure how much oil I’m using. The amount in this recipe is only a rough measurement so you know roughly how much you’ll need.
- For more flavour: add 1 teaspoon dijon mustard and 2 teaspoons apple cider vinegar or lemon juice (for creating a garlic mayonnaise). Add these ingredients in the same step in which you froth the aquafaba.

