Rice milk is my favourite plant-based milk to use for cooking and baking. Why? Because it’s ridiculously cheap! And as I’m making many, many yummy things, I love anything that saves me money. Also, it’s a great thickener due to its starch content!
Other than that, rice milk is just as easy as making almond milk, and no nasties added!
Fancy more flavours for your rice milk?
Sweet: add up to 3 Medjool (or 6-8 small) dates or 1-2 tablespoons maple syrup for extra sweetness.
Vanilla: simply add a teaspoon vanilla essence (or a whole pod) to your rice milk.
Chocolate: add 2 tablespoons of cacao/cocoa, some dates or maple syrup, and maybe vanilla. YUM!
Combinations: rice milk also tastes yummy in combination with almonds and coconut! For an almond rice milk, use 100g / ½ cup cooked rice and 80g / ½ cup almonds (soaked in salty water for at least 10 hours). For the coconut version, use 100g / ½ cup cooked rice and 50g / 1 cup desiccated (or shredded) coconut.
What’s great about homemade rice milk?
I mentioned before: It’s cheap, it’s simple and it’s nasty-free! Many store-bought rice milks have heaps of sugar, preservatives or oil added, or are enriched in calcium. You absolutely do NOT need extra calcium when on a plant-based diet. If you eat enough leafy green vegetables, beans/lentils or almonds and seeds, you get plenty! And, go out and enjoy the sun (vitamin D)—otherwise all that (extra) calcium is useless.
Additionally, rice milk is a great alternative for those who can’t eat soy (if you have issues with your thyroid, for example), for those on a gluten-free diet, and for those who are allergic to nuts.
What type of rice works best?
It doesn’t really matter which one you use! It depends on your taste and what you like. Try out a few different kinds! I prefer brown rice as it’s a bit more nutritious than regular white rice. But I also like Basmati for its flavour.
How to use rice milk?
Rice milk isn’t my favourite one to add to my coffee, but I use it for any kind of baking or cooking. It’s just ridiculously cheap and works very well as thickener for sauces!
Blender of choice
I'm using my NutriBullet (a high-speed blender) and it works very well. I have to do it in 2 lots though because the cup isn't big enough. If you’re using a high-speed blender, just be careful not to over-blend it. Your milk might turn out too slimy. I usually just pulse a few times or stop it after 10-20 seconds.
If you have a food processor, give it a go. No idea, if it works because I don't have one—but I'm sure it's fine.
A stick/immersion blender works just as fine as well!
Nut Milk Bag
All right. Here's the thing. You can absolutely buy one (like this nut milk bag)—they aren't extremely expensive. But you can also save that money and go to your local OP/thrift shop (or a fabric shop). Curtain fabric (Swiss voile) or an old T-shirt is a great alternative! In fact, I used my produce bag which the OP/thrift shop ladies made from an old fine mesh curtain.
Technically, you don't even have to sew—here is a great tutorial on how to make it. Simply cut out a big square and you're done! Especially T-shirts are great for rice milk because it prevents that too much pulp ends up in your milk, making it crumbly or slimy. You don't even have to cut one for it. Simply put it over your bowl, in a single layer, and squeeze the milk through it. Wash afterwards and wear it again :).
What to do with left-over rice pulp?
You usually don’t end up with a lot—not like with almond or coconut milk. However, throwing it away still seems a bit wasteful, doesn’t it?
My favourite way to use rice pulp is in crackers (like these ones), but it’s good for bikkies (cookies), too. Or you could add it to your breads or tortillas. It also works well as a thickener for sauces like Béchamel (white sauce) for Lasagne.
📖 Recipe
Equipment
- A stick/immersion blender, high speed blender or food processor
Ingredients
- 200g / 1 cup cooked rice white or brown
- 1 litre / 4 cups water
Instructions
- Put all the ingredients into a blender and blend until smooth.
- Place your nut milk bag or a sieve/strainer over a jug or big bowl that can hold 1L / 4 cups of water. If using a bag, strain Rice Milk and gently squeeze out all the liquid until only the pulp is left (it won’t be much).
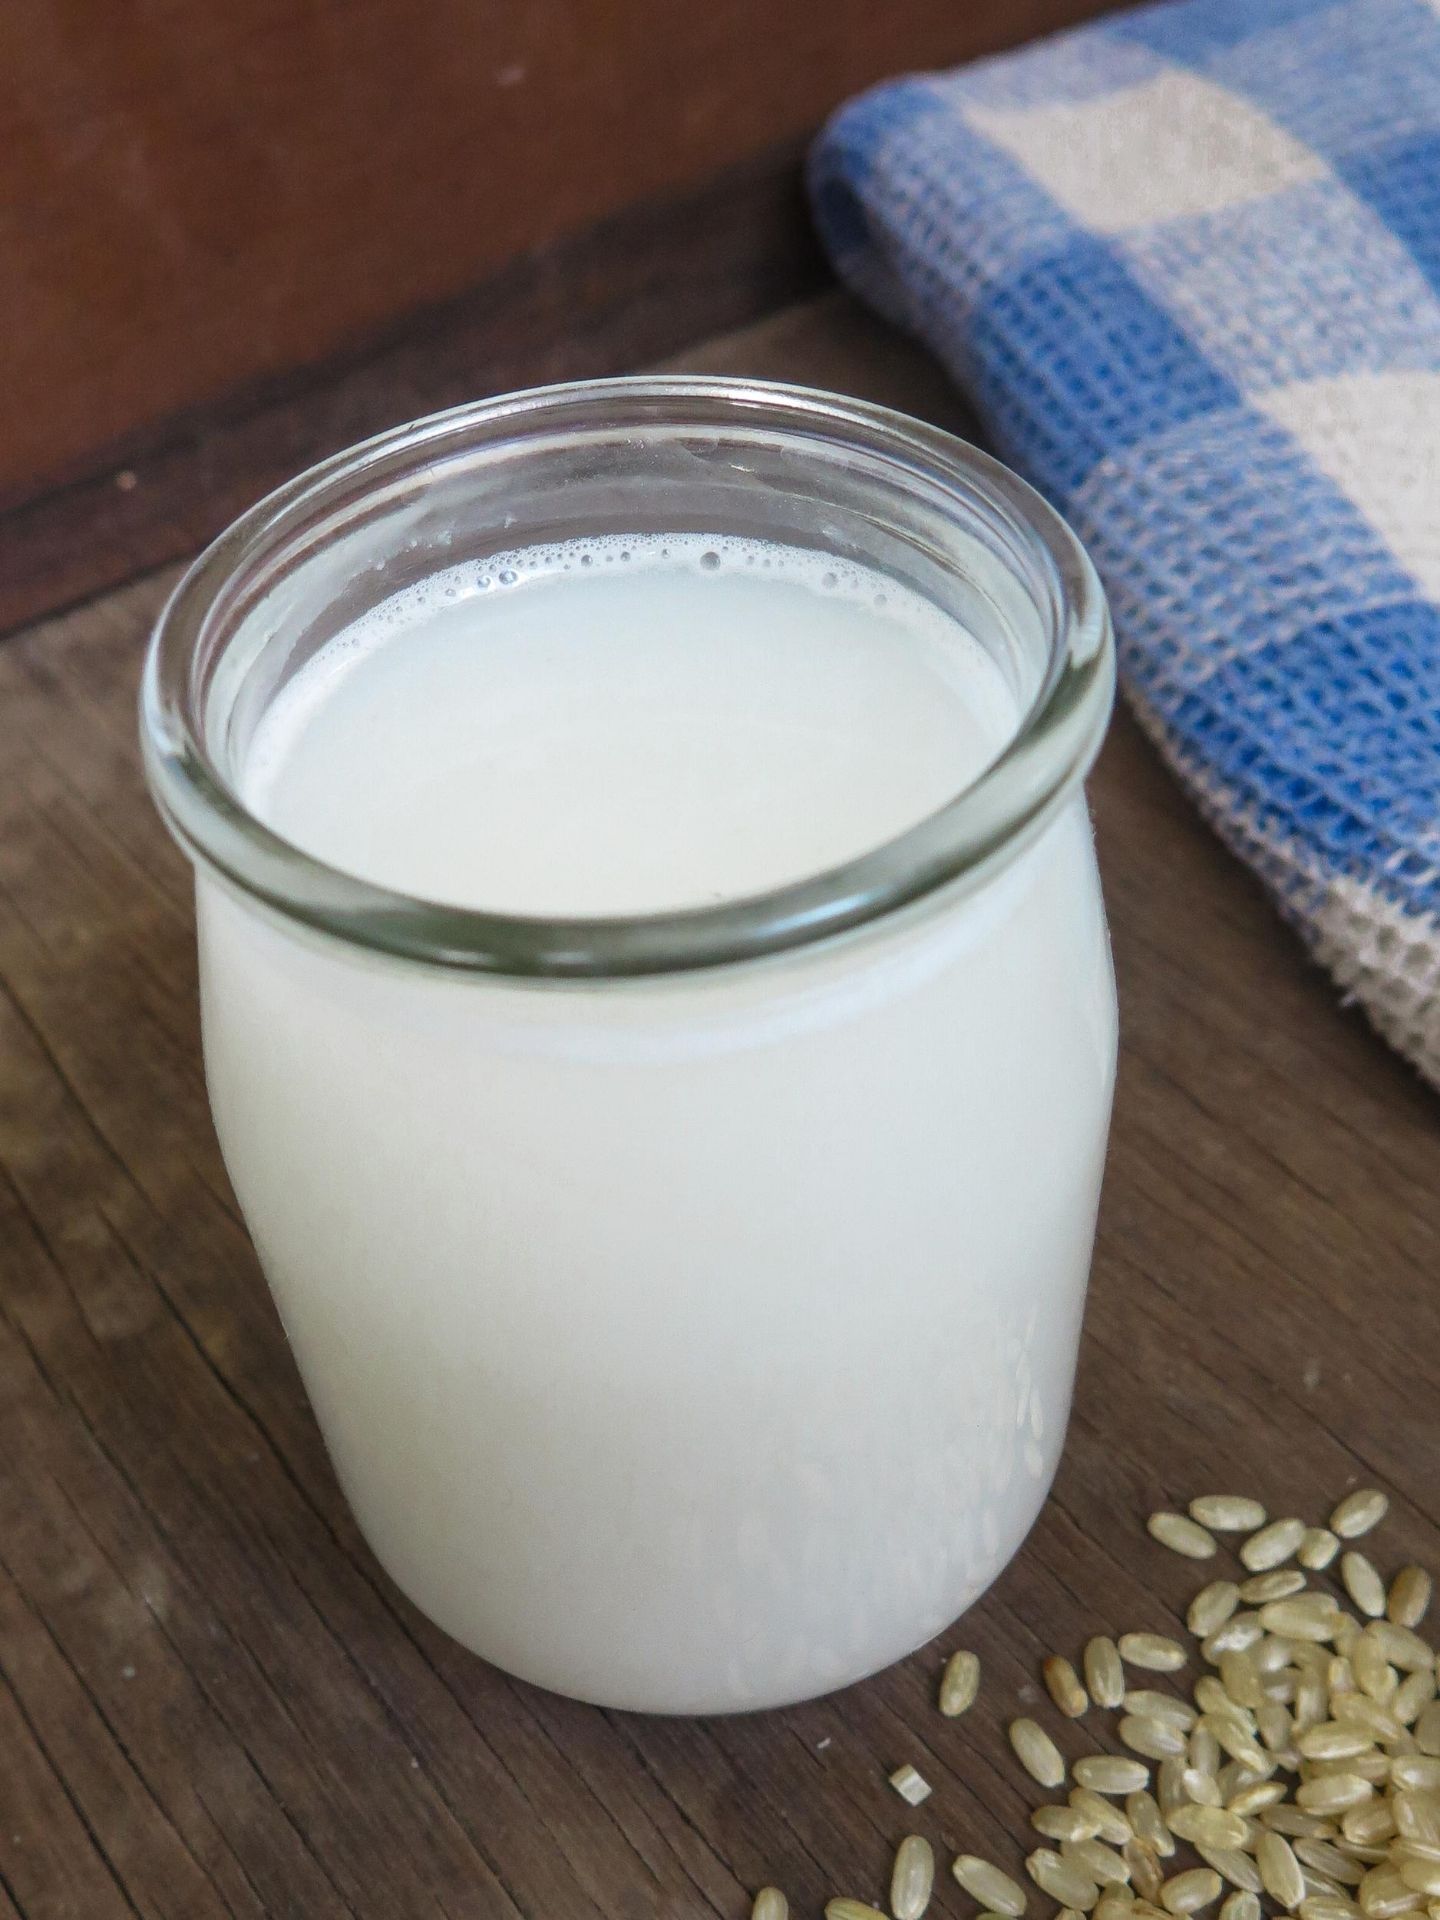
- Pour your Rice Milk into a bottle, jar or container of choice and keep in the fridge. Shake well before using!
Notes
- You can use left-over rice or simply cook some new rice. But I recommend letting the cooked rice cool down properly before use. Your milk may end up slimy, if it’s still warm. That’s at least my experience.
- The Rice Milk keeps in a fridge for about 5-7 days (maybe longer).
- You can freeze it, too. That's what I usually do: I simply divide the batch into thirds, keeping one in the fridge and freeze the other 2. The Milk may get a bit "crumbly" after defrosting though. If that happens, just heat it up in the microwave or on the stove, and it goes back to normal (even when chilled in the fridge).


